
Welcome to our comprehensive guide on using JWT (JSON Web Token) authentication in your API solution! Strong security measures for your application programming interface (API) are critical. With cyber dangers continually growing, it is vital to safeguard sensitive data and ensure user authentication while developing APIs.
In this article, we’ll look at the basics of JWT authentication and how incorporating it into your API solution may improve security and simplify user authentication procedures.
How to Benefit from JWT authentication?
JWT is a small, URL-safe way to represent claims between two parties. These claims can be digitally signed, providing a secure means of authenticating and transmitting data between the client and server. JWT tokens are commonly used for:
- Stateless authentication: JWTs are self-contained and may hold user data, eliminating the requirement for server-side storage or session management.
- Cross-Origin Authentication: Because of their tiny size, they are ideal for usage in single-page applications (SPAs) and mobile apps.
- Scalability: JWTs are easy to distribute and validate across different servers, making them perfect for microservice designs.
Step 1: Create a.NET Core 6 Web API project
Begin by establishing a new.NET Core 6 Web API project in your choice development environment. You may use either Visual Studio or the.NET CLI. After you have created the project, you may proceed with the instructions below.
Here’s what our simple API controller looks like. Its only goal is to deliver the answer “Hello World”.
Configure JWT Authentication
In your Program.cs file, configure JWT authentication
Generate JWT tokens
We will generate JWT tokens when a user signs in. We’re building another controller for login actions.
using Microsoft.AspNetCore.Mvc; using Microsoft.IdentityModel.Tokens; using System.IdentityModel.Tokens.Jwt; using System.Text; namespace JwtInDotnetCore.Controllers { [Route(“api/[controller]”)] [ApiController] public class LoginController : ControllerBase { private IConfiguration _config; public LoginController(IConfiguration config) { _config = config; } [HttpPost] public IActionResult Post([FromBody] LoginRequest loginRequest) { //your logic for login process //If login usrename and password are correct then proceed to generate token var securityKey = new SymmetricSecurityKey(Encoding.UTF8.GetBytes(_config[“Jwt:Key”])); var credentials = new SigningCredentials(securityKey, SecurityAlgorithms.HmacSha256); var Sectoken = new JwtSecurityToken(_config[“Jwt:Issuer”], _config[“Jwt:Issuer”], null, expires: DateTime.Now.AddMinutes(120), signingCredentials: credentials); var token = new JwtSecurityTokenHandler().WriteToken(Sectoken); return Ok(token);Protect API endpoints
Now that you’ve set up JWT authentication, you can safeguard your API endpoints by adding the [Authorise] property to controllers and actions that need authentication.
[Authorize] [Route(“api/[controller]”)] [ApiController] public class HelloWorldController : ControllerBase { [HttpGet] public IActionResult Get() { return Ok(“Hello World”);Since we added [Authorise] to the controller, when we call the HelloWorld endpoint, we receive a 401 response. It implies we don’t have permission to visit this endpoint without a valid token. So let’s create a new token. Now we can utilise the login API to obtain the token that we can use for authentication.
As you can see, following a successful login, we receive a valid token back. We will now include this token in the request header Authorisation, with the value Bearer new_token. As you can see, after adding the token, we receive a success answer. Congratulations, you have now protected your API using JWT authentication!
Conclusion
Finally, incorporating JWT authentication into your API solution has several benefits, ranging from increased security to streamlined user authentication procedures. Using JWT, you may create secure communication channels, reduce the dangers of unauthorised access, and ensure smooth interaction between your API and client apps. As you traverse the world of API development, keep in mind that prioritising security and user authentication is critical to building confidence and reliability with your users.
Once confirmed, the API generates a JSON Web Token and signs it with a secret key. The API will then return the token to the client application. Finally, the client app will get the token, authenticate it on its own end, and then utilise it on further requests.
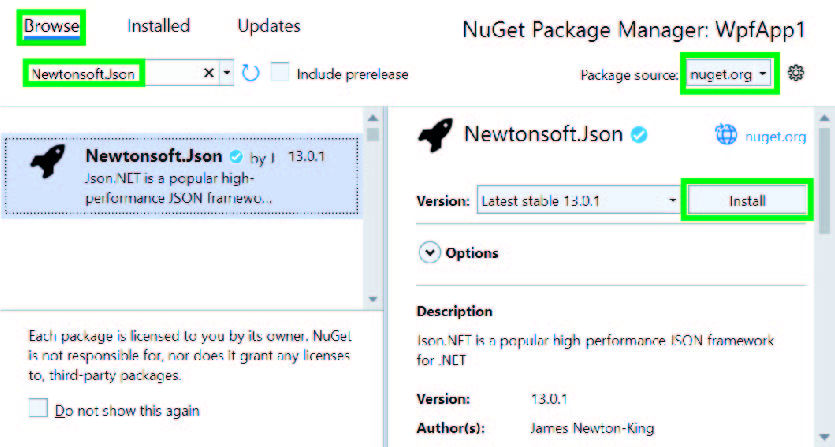
1. Install the necessary NuGet packages.
2. Modify the appsettings.json file.
3. Change the Startup.cs code.
4. Integrate a JWT Authentication Service.
5. Include the ApplicationUser Business Objects.